To help you understand the creation process and how we work, we would like to take you on the journey of one of our clients, Kent VA. The pictures included below are part of the process involved in creating their new site in March 2009.
Step 1 – Initial Discussion
Once you have decided to work with us, we need to do some initial research into websites used by your competition. We ask you to help out with this too. This gives us both a feel for the site you want and need.
With this in mind we either meet up in person or discuss your site over the phone. We start by looking at the main goals of your site –Is it getting people to contact you, download a brochure, watch a video, chat with customer service staff online, etc?
We also look at who you are marketing to. This may be other businesses or direct to customers. We talk about any additional details you know about your clients and how best to get them to take the actions you want.
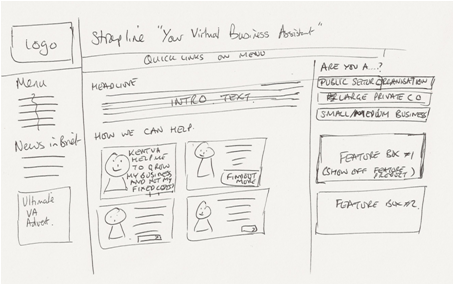
In discussion we may come up with a sketch mock-up of the site, as in the example below.
Additionally we look at the types of image you like, and review the competition’s sites to borrow the best ideas and add our own ideas.
After the initial discussion we have:-
- Some idea of styles of sites you like
- The types of photo you like
- An outline of the pages we need
- Possibly a paper mock-up of the home page.
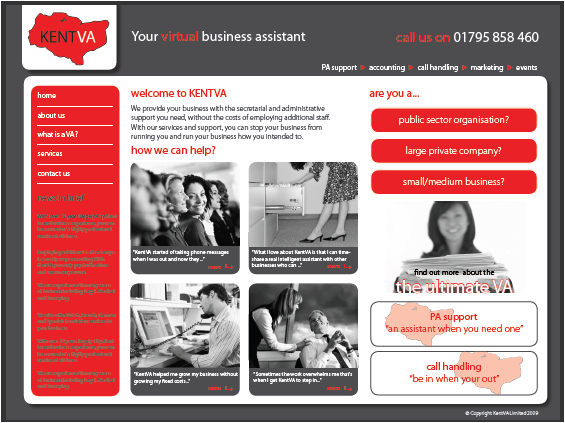
Step Two – Create a design mock-up
With the ideas from step one, we now create a mock-up of the site home page. This not a website – it is just a big image of what it might look like. This gives you a chance to comment on the look and feel, make amendments and for us to check you are happy to proceed.
This is the initial mock-up of the Kent VA site.
Step Three – Create the programmed outline of the website
Once you are happy with the graphical mock-up we start the programming of your site. At this time we are interested in the parts of the site that are fixed on all the pages, such as the areas shown in the graphic below for KentVA.
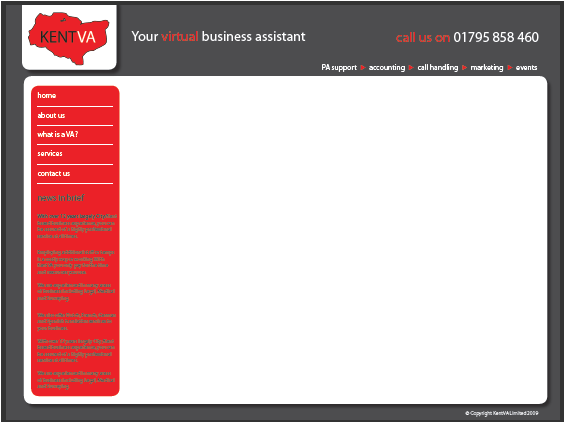
This gives us a backdrop to put each of the page details into.
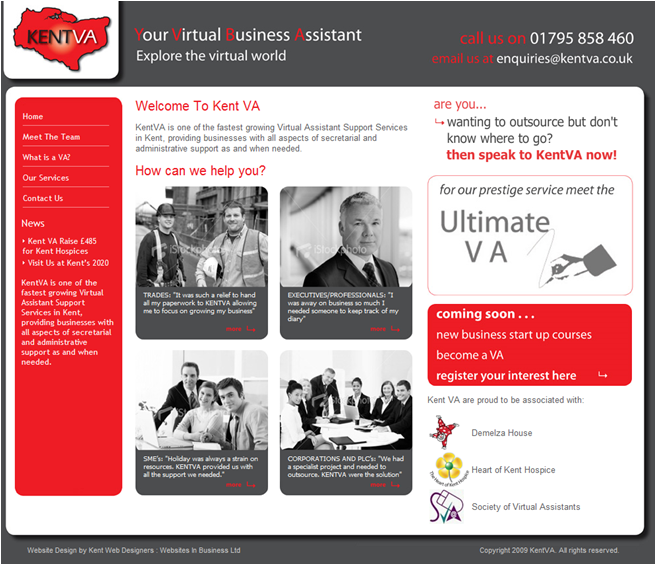
Step Four – Adding the Content
We now start adding the content (either provided by you or created by us – depending on the work we have contracted to do).
This is built up on a dummy site on our test server. The site below shows the Kent VA website being built up on our test server.
Once you are happy with the full site on the test server we move on to the final step.
Step Five – Go Live!
At this point we transfer the site onto your server, fully test and check the site.
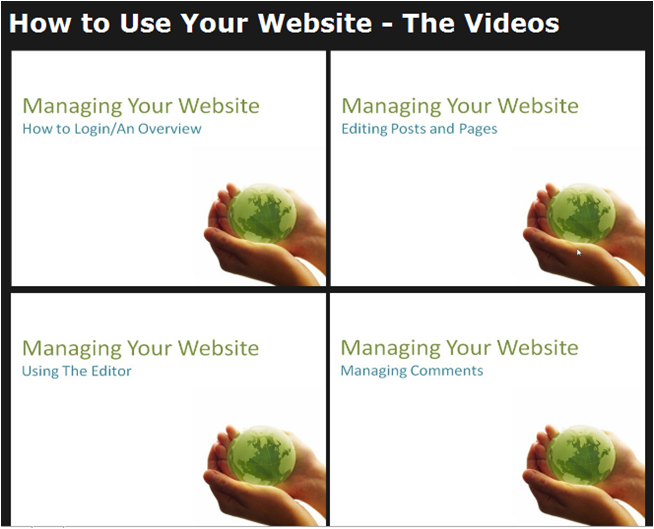
We then upload a series of help videos to accompany your site, which teach you how to edit the main parts of the website yourself.
It is not compulsory to edit the site yourself. Some people do a lot of editing but others would prefer us to do it.
We feel it is important to give you the choice and to create a website that can be edited quickly and grow with your company.